If you have a dog that is plagued with stress due to fears and anxieties, you might feel like the process of training him or her in the beginning, seems like a daunting task. Their fears, just like us, hold them back from doing things that your neighbor’s or friend’s dogs seem to do without thinking twice.
The approach that you must take while training a nervous dog might seem very different or even a lot slower than other dogs you might have been around in the past, but taking the time to build a trusting relationship early on in your time together is a critical step to help your dog grow into their future accomplishments.
Introducing training in a stress-free way, such as playing games, can easily set your fearful dog up for greater success during your training sessions and help your dog to learn how to navigate the world around him with more comfort and ease.
Contents
A Few Rules of Engagement
How you approach your initial training sessions at first can make a lasting impression, so here are a few rules to live by when working with your fearful dog.
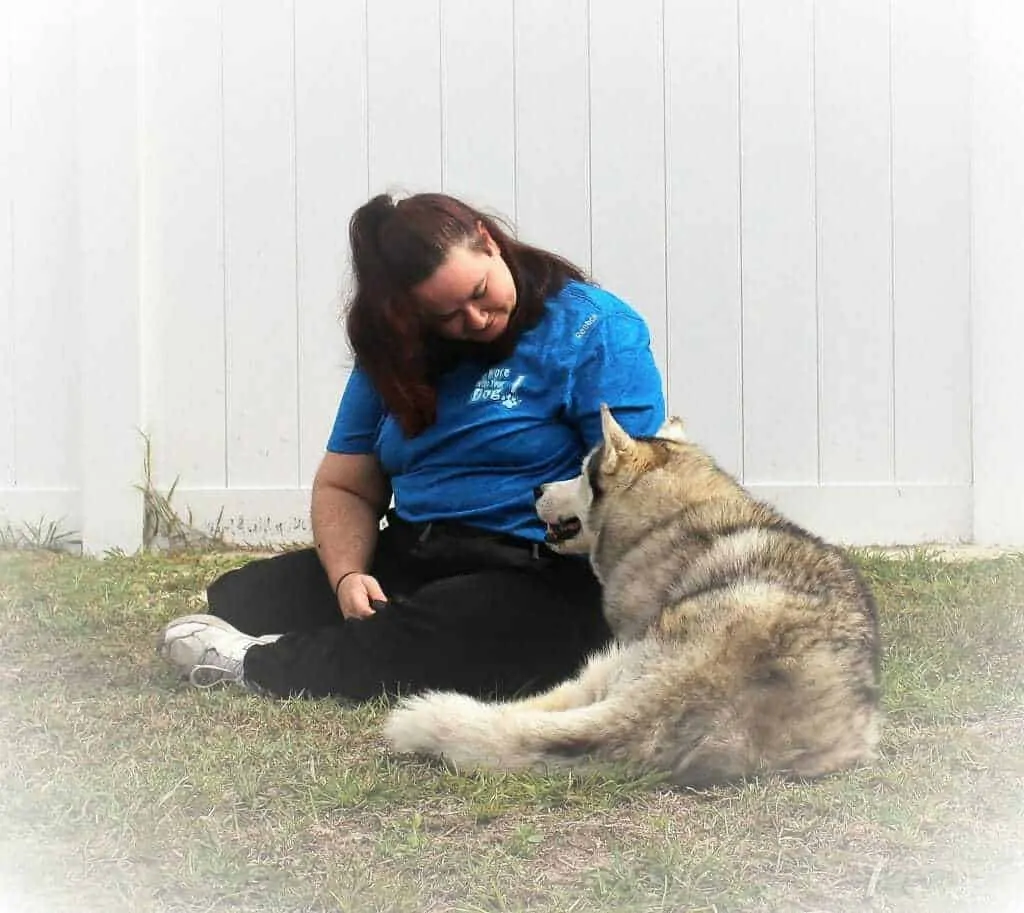
Speaking in a calm voice and having non-threatening body posture can help your shy dog feel like they can approach people they might be nervous around
-
- You MUST go at the dog’s pace. Forcing a fearful dog to perform or using aversive methods will only make matters worse.
- Always let the dog initiate contact with you or the scary thing… always! Trying to pet or engage a dog physically before they are ready, will only cause them to avoid contact for longer.
- Make sure your body language is completely non-threatening. Think of how you might approach a wild squirrel. Your body language should appear limp/relaxed, approach from an angle, instead of head on, no direct eye contact until the dog has learned you are trustworthy, etc.
- Speak in a calm voice and put more emphasis on visual signals instead of verbal cues. As humans, we tend to talk things out too much sometimes, which can translate to an added stressor to your dog if they are repeatedly bombarded with verbal cues.
- Don’t try to teach your dog new concepts or ask him to practice something if he is extremely stressed and unable to focus. Instead, wait a little while until your dog is relaxed, take them to a quieter room or easier location where he can achieve focus again, and slowly build up to those harder areas over time.
Know Your Motivators!
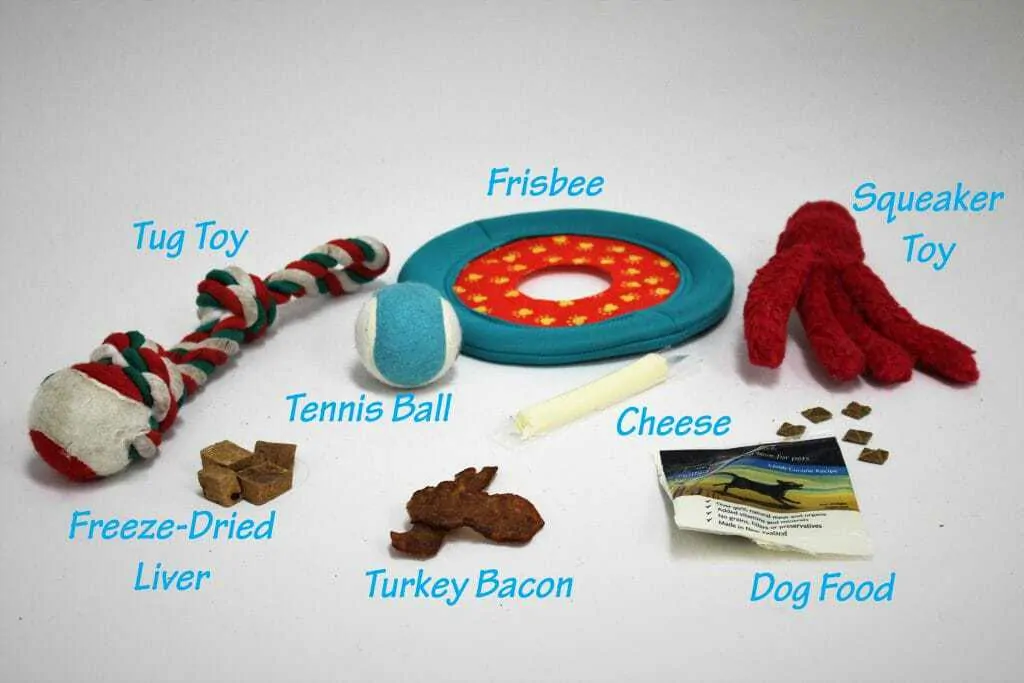
Here are a few examples of food, treat or toy motivators.
It is always important to take the time to figure out what motivates your dog, but even more so when working with a dog that has fear or anxiety issues. Many things can be motivating to dogs. Praise, touch, playtime, toys, food/treats. Even giving a dog space from a stressor can be a big reward if implemented properly.
For training purposes, spend a lot of time ranking items, especially in the food/treat department. When a dog is extremely stressed, they many times will stop eating. That little piece of kibble or biscuit they take when coming in from a walk, might work just fine in the dog’s comfort locations, but try to use these items around a new scary item or in a new environment and your dog won’t even give it a second glance.
It is important to find these high ranking food items because for most fearful dogs, the other types of rewards (mentioned above) are expendable, whereas food is a necessity of an animal’s life. Use these high ranking items whenever you are trying a new skill or upgrading distractions so your dog is associating really great happenings during the training process. Some of my dog’s favorite go-to items over the years have been meatballs, steak strips, chicken or beef livers and fish jerky. You want to look for items that emit an enormous amount of smell value. You can even microwave your meat or treat for a few seconds before a practice session to help release the aroma more. These items need to be highly tantalizing and should always be offered around stressful items/situations. Even if your dog just drops it on the ground in the beginning, the offer should be there! Just leave it down and sometimes your dog will surprise you and pick it up when nobody is looking or when he feels comfortable enough.
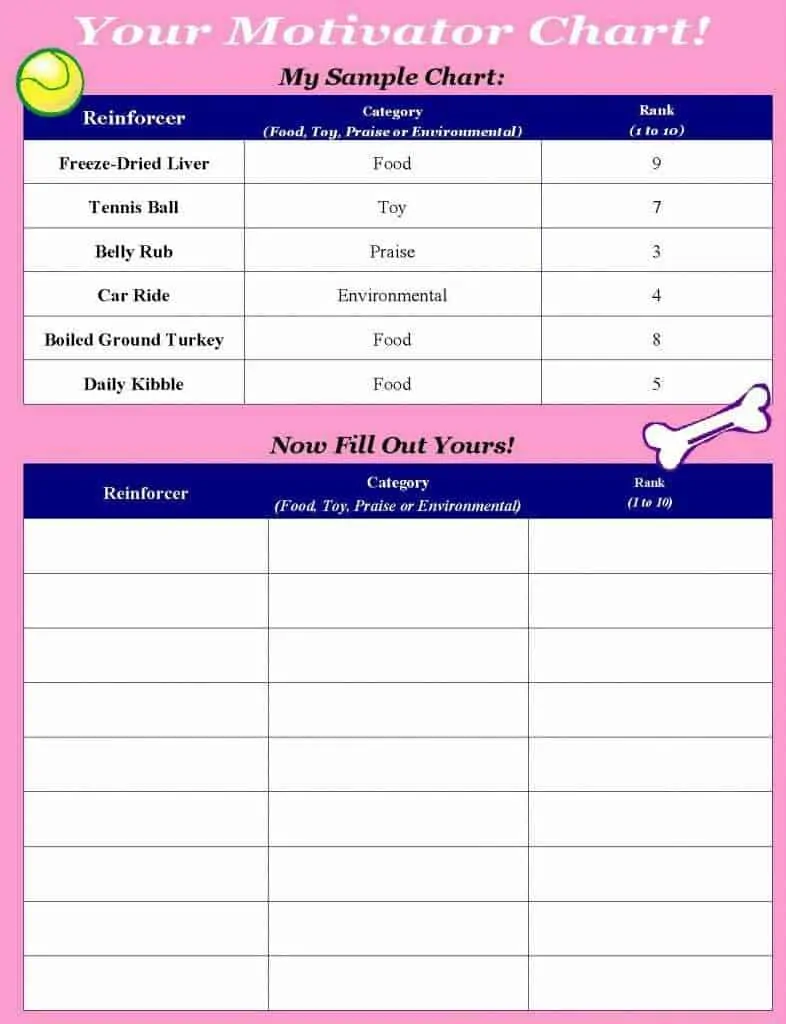
The following chart is one I use to rank my dog’s motivators before I begin any type of practice. Think of the ranking system as it might translate into dollar bills for you. A rank of 1 might be like someone handing you a $1 bill where a rank of 10 might be like a $100. What would motivate you to try something faster?
This sample chart will help you rank your motivators in terms of importance. (self taken)
Another quick tip is to use your feeding time as training sessions. Instead of letting your dog just get free food throughout the day, try using that kibble and some tasty morsels mixed in, to teach your dog something during feeding time instead. A hungry dog can translate to a highly motivated dog and using this time to teach daily together, can not only really grow the bond between the two of you, but it will amaze you in the amount of time that can be shaved off when teaching a new skill.
Dr. Ian Dunbar, the father of pet dog training as we know it today and founder of the Association of Pet Dog Trainers suggests “Ditching the Bowl” as explained here from his son Jaime.
Training Session Set Ups
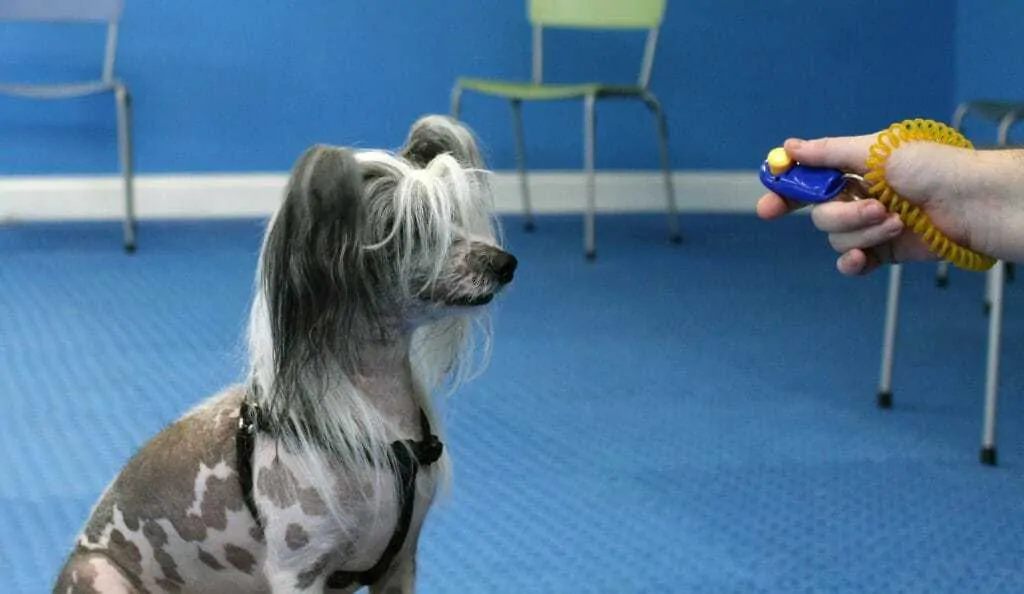
Loki is practicing in a quiet, non-distracting room to help him start getting used to the clicker.
To keep things moving forward smoothly, here are a few quick tips on how to approach your initial training sessions with your fearful dog.
- Practice in a very quiet, non-distracting room. Think sterile! No loud noises, no other pets in the room, no known triggers that your dog reacts negatively to.
- Keep practice sessions extremely short. I typically do about 3-5 minutes in the beginning and am ready to cut things shorter if need be. I do about 3 or 4 of these practice sessions a day.
- Start with some mid to high value motivators (think 6-8 range). You want to have some room to grow on, so don’t start with your dog’s highest ranking items.
- Mark & Reward ANY movement towards the scary item in the beginning. Timing is an essential skill when working with your dog. Teach your dog how to respond to a secondary reinforcer such as a clicker, or if they are noise phobic, a verbal cue such as “Yes” as your marker that they are going to receive a reward. This secondary reinforcer will be an invaluable tool for you both during the training process.
- Always smile and try and show happy body language when introducing him to a new intimidating sight, sound, etc. Showing that you are confident around the new item and associating positive rewards around it, will go a long way in your dog’s desensitization process.
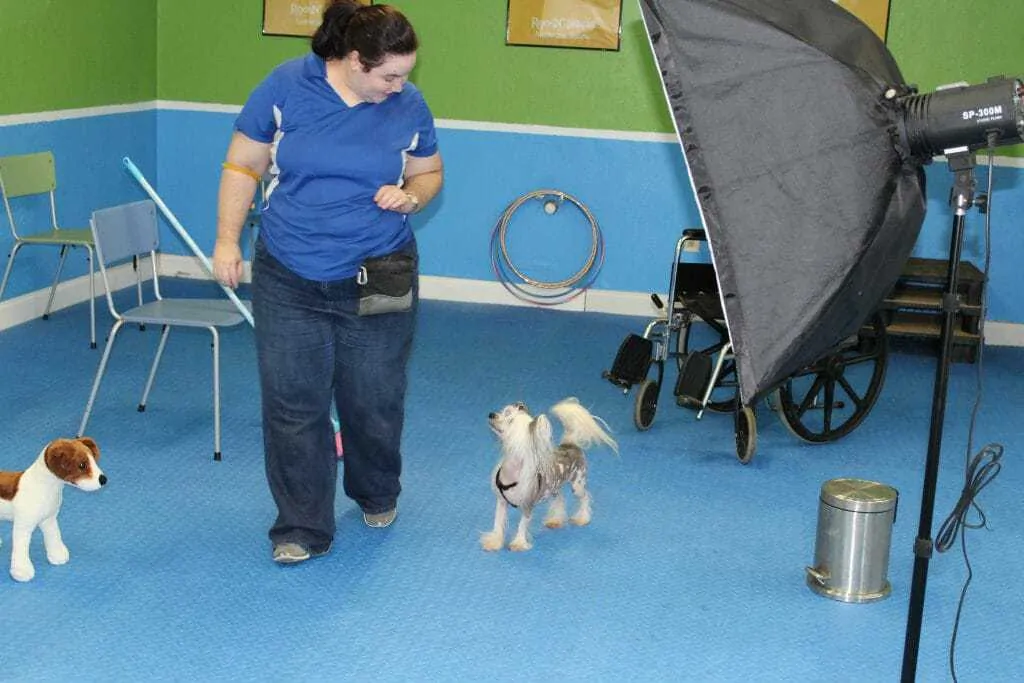
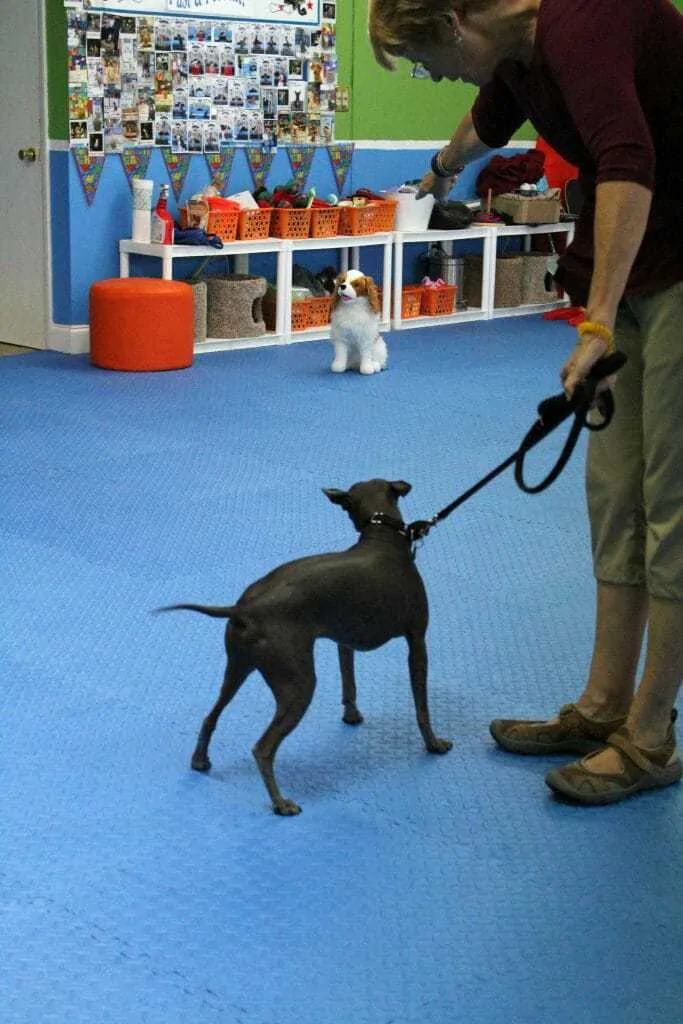
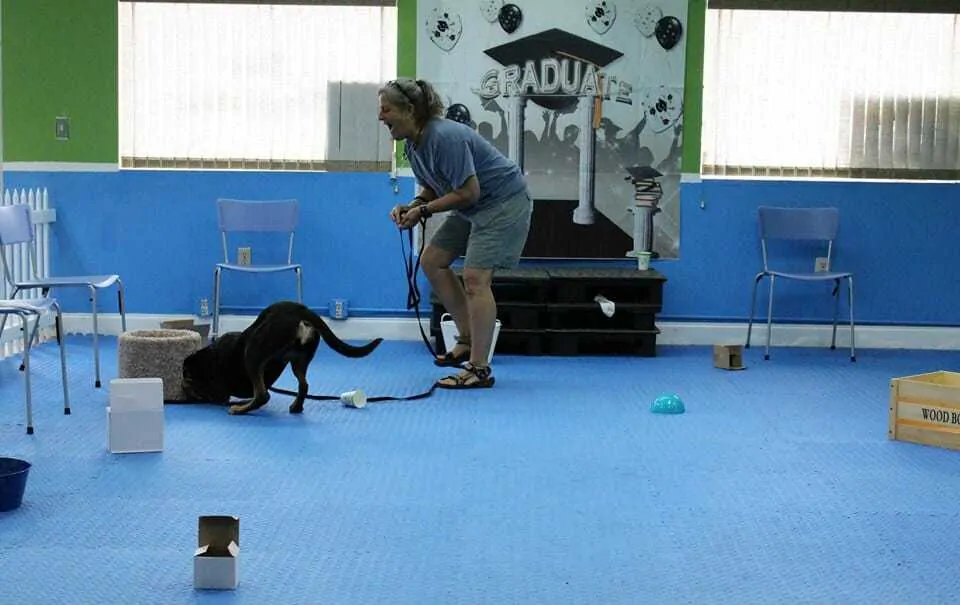
There are a lot of distractions in this room, but the owner’s smile, happy body language and continual positive reinforcement helps this dog maneuver the environment.
- Add distractions very slowly. Only when your dog is confident in one area will you move on to the next.
Using Your Fearful Dog’s Senses to Play Games
To figure out what types of games to start playing with your dog, it is important to try and understand how your dog chooses to investigate the world when they are nervous around something.
The games we are going to focus on in the following sections, help establish confidence through exploration using 3 different senses. Sight, Smell and Touch… in that order. Once your dog is confident with Sight Games, you can move on to Scent Games and then lastly, Touch Games.
If you think logically about the process, the least intrusive and first step to overcoming a fear, is to be able to look at it. The easiest step to take in first engaging an item or area is by your dog following his sense of smell and then to actually be able to touch an item with his paw or another body part is truly an act of overcoming barriers and breaking down walls.
The following games will help your dog grow in these investigative arenas, so let’s get started!
Sight Game #1: Watch Me
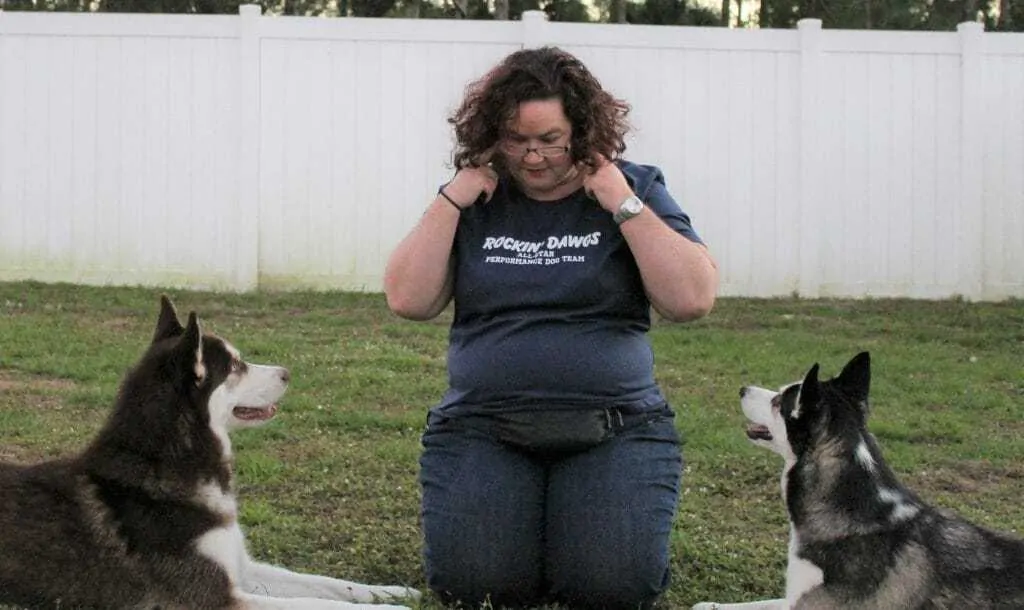
These two pups are learning how to do the “Watch Me” cue with each other as a distraction!
This game will help your dog not only gain trust looking at you, but also to become more comfortable accepting eye contact from others.
- Sit down with your dog and start by throwing a treat out on the floor a few feet out in front of you. Be careful to not throw to quickly, as your dog might be scared of fast movements, so under-handed and a slow throw are best.
- Your dog will go out to get the treat. As soon as he turns back in your direction, Mark either with a verbal “Yes” or a clicker and Reward. You can administer the reward by rolling the treat past your dog again and continuing the game with some repetitive practice.
- As your dog becomes more comfortable turning back to you, start holding the treat so your dog must return to your hand to receive the reward. If this is still a little scary, you can simply place the treat on the floor in front of you (or next to your open hand) so your dog can retrieve it and work your way up to holding it.
- Once your dog is able to take the treat from your hand, you can start giving your dog a verbal and visual cue. I point to my eye and say “Watch Me”. If your dog looks up at you, even for a half second, Mark and Reward immediately.
- Apply the new cues in a variety of different situations. Call it when your dog is eating, sleeping, playing, getting in trouble, etc. Of course, start with easier situations and then grow to harder distractions.
- Gradually increase the amount of time your dog must maintain eye contact with you. Take your dog back to your quiet environment to start this practice. The end result will be that your dog can maintain eye contact during a variety of distractions.
This tutorial video will help you learn how to teach the “Watch Me” cue.
Sight Game #2: Look at That!
This young dog is practicing the ‘Look At That” cue.
For this game, we are going to use classical conditioning to help your dog associate good things with anything he might be afraid of. This is also a very useful cue in helping your dog to be alerted to distractions that might potentially startle your dog otherwise. Knowing something is coming always gives your dog time to cope with situations better.
- Grab something you want your dog to be more comfortable around. This could be a person, vacuum cleaner, nail clippers, really any item you want to start with. And have it out somewhere where your dog can see it.
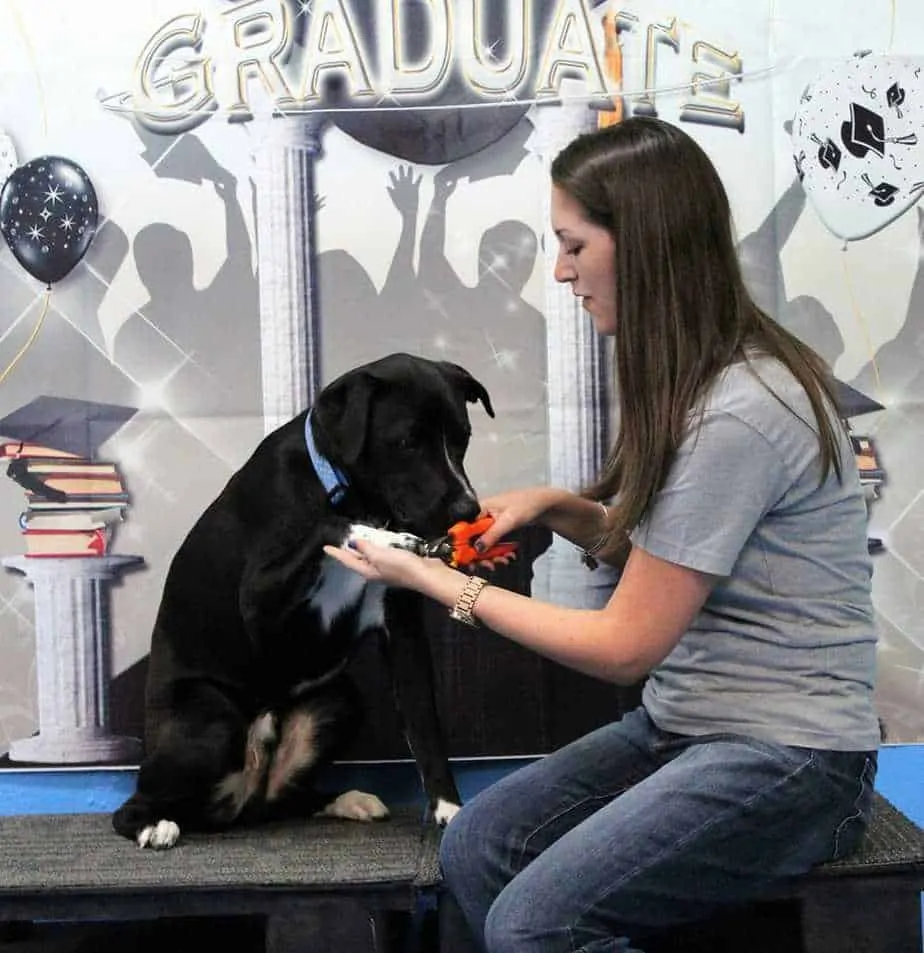
Nail clippers might be an easy item to start with when teaching the “Look At That” cue. This dog was once afraid of the clippers, but by starting slowly and reinforcing whenever the clippers came into view, his owner was able to get him alot more comfortable with them.
- Wait for your dog to look in the direction of the item and quickly Mark and Reward any glance. It could be very short in the beginning so be ready to catch it. Practice this quite a few times until your dog seems a bit more confident looking at the item.
- Now start putting this on cue. Start pointing to the item first and give the verbal signal “Look At That”. When your dog looks in the direction of the item, Mark and Reward again just as you did in Step 2. Practice repetitively until your dog can confidently look at an item you signal to.
The end result of this game is that if your dog is nervous about something he sees one day, instead of reacting towards it, he can look to you for direction automatically, without you asking. We call this an Auto-Watch. It takes time to get to this step, but if your dog ever offers this behavior, be sure to give them a massive 30 second treat party right on the ground wherever you are at that moment. You have just taught your dog a new coping skill.
Teaching the “Find It” Cue
Boots is learning how to try the “Find It” cue in harder locations.
Once your dog is comfortable with the sight games, there is one basic cue that can really help you go leaps and bounds with your fearful dog and open them up to a world of fun games that will help your dog learn how to explore and begin their first actual interactions with things. This cue is “Find It!”
- Start by throwing a treat on the ground out in front of you. Point towards the treat and give him the verbal cue of “Find It”. (If your dog is nervous of a lot of movement, feel free to place it on the ground instead of throwing it.)
- The next step will be to gradually start hiding the treats in a harder location (such as next to a chair leg, behind a door, under the front of your couch, etc.) so your dog does have to search more for it. You can let them see you hide it in the beginning and the initial hiding places can be pretty easy finds.
- As your dog gains confidence, start hiding the treats without your dog seeing where you are putting them and in more scattered and difficult locations. Think of items or areas your dog might be nervous to approach and try to work up to these places.
Some examples of this might be:
-Your dog doesn’t like walking on tile floors. Hide them on the tile.
-Your dog is afraid of going in a crate. Hide them in the crate.
-Your dog won’t walk by the vacuum cleaner. Hide them around or on the vacuum cleaner.
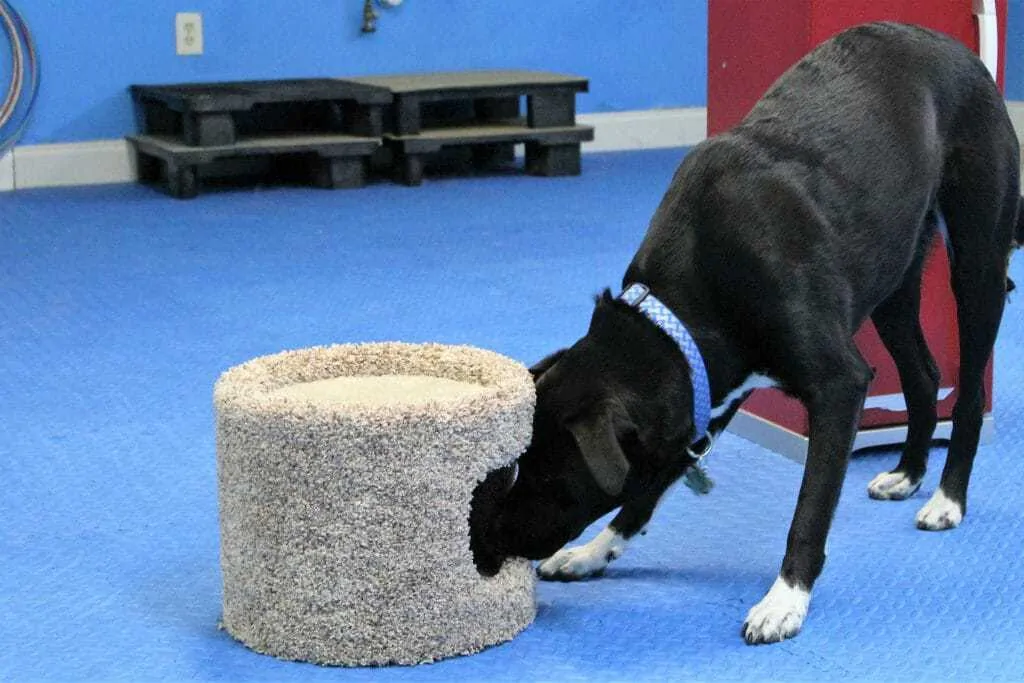
You can also hide treats in small containers or boxes at this point and start teaching them the beginning of a nose work box/article search!
This dog is learning how to search a variety of items to find the scent.
Now that you’ve taught your dog how to “Find It”, you’ve opened him up to a world of exploration. Here are just a couple fun games that you can play with your dog using the “Find It” cue.
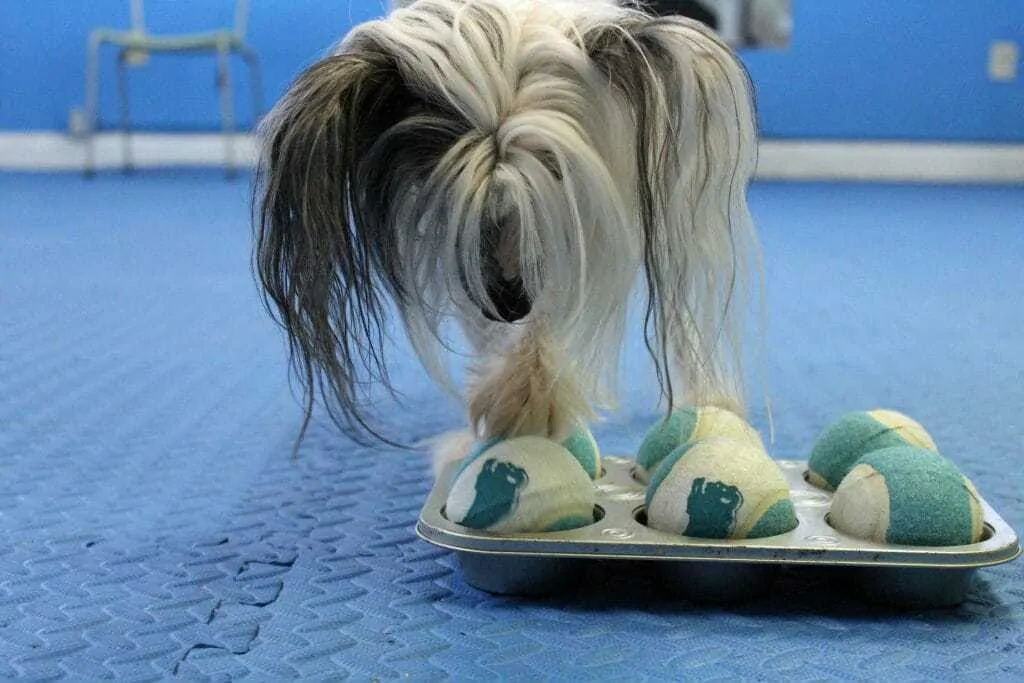
Scent Game #1: The Muffin Tin Game
Loki is trying his paw at the Muffin Tin Game. He might look brave in this picture, but the first time he tried it, it actually took him 3 days to actually touch the pan.
For this game, your dog must find and get out the treats that you hide in the pan under the balls.
- Find yourself an old muffin tin and enough tennis balls to fill each cup. Make sure to place the tin on a soft surface so the pan doesn’t slide around too much and make noise that might upset your dog in the beginning.
- Let your dog watch you drop treats into several of the cups and cover them with the balls. If your dog is very nervous to approach the tin in general, feel free to just drop the treats in the tin without covering them with the balls to start, until your dog will more confidently approach it and eat the treats.
- Start encouraging your dog to “Find It” as you learned in the previous section. You may slightly lift the balls and help your dog investigate to start, but as they get better with the game, you will need to assist less and let them figure out how to remove the balls to get to the treats. Any method they use (grab it with mouth, paw it out, push it with their nose) is acceptable. The object is not to teach them a specific method, but to help them become more confident investigating this foreign object.
- As your dog improves, start putting the treats under less tennis balls until you can just put them under one and your dog is sniffing out the correct ball each time.
The more you practice everyday, the better your dog will get at this game. Some people actually feed their dogs like this everyday instead of from a food bowl, just as a canine enrichment activity and zoos use this type of daily enrichment for the animals they care for.
Be patient. A very shy dog might actually take days to approach the muffin tin on their own.
Here is a tutorial to help you teach your dog the Muffin Tin Game.
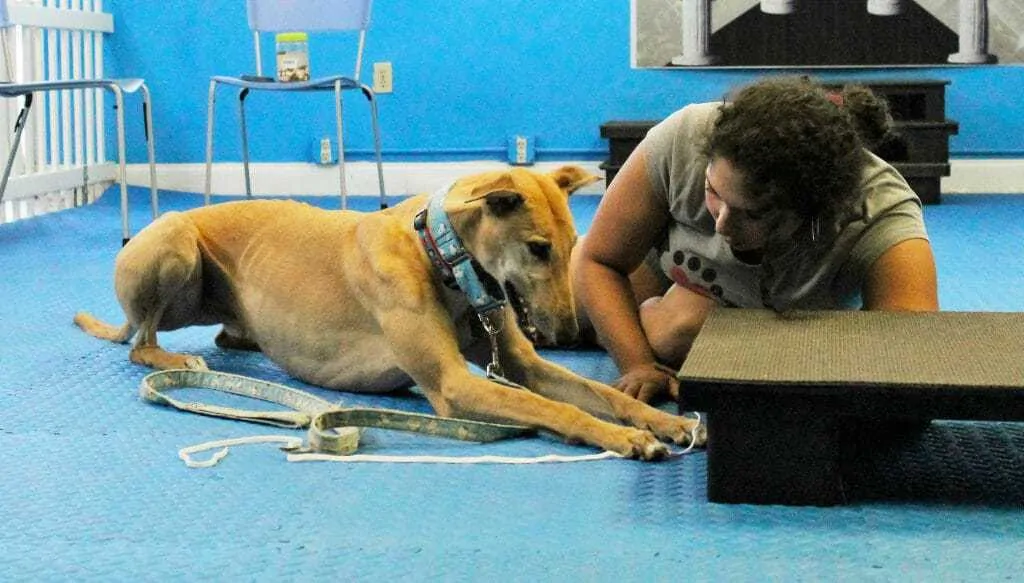
Scent Game #2: Cookie On A String
This greyhound’s mom is teaching him the Cookie On a String Game!
The objective in this game is that your dog learns their own way to pull the treat at the end of the string to them.
- For this game, you will need a shoestring, piece of paracord or similar type of material and a tasty treat, such as a jerky strip, that you can tie to the end of the string.
- Find a low piece of furniture that your dog can not fit underneath, such as your couch, or under a doorway. Show your dog the yummy treat tied to the end of the string and let him see you put it under the furniture. Make sure it is far enough under that your dog can not reach the treat and that there is at least a good foot or two of string laying out that your dog can interact with.
- Encourage your dog to “Find It” as you learned in the previous section. You may help him by showing him the treat and pulling it out by the string a couple times, then try and let your dog figure the game out on his own!
Important Note: If your dog pulls out the treat, immediately grab hold of the string, so your dog doesn’t try and eat it, and break off a piece of the treat for them.
You can learn so much about your dog’s learning processes by playing these simple games. Here are a few things to look for when playing this game:
- How tenacious is your dog? Does he give up before the game has even begun or does he keep trying until he finds a way to get that treat? If your dog gives up easily, this is a good sign that you should keep your practice sessions extremely short in duration so you do not overly stress your dog.
- Is your dog nosey or pawsey? Even though a paw touch might be more intrusive in the beginning, the pawsey dog will offer this behavior a little quicker when they forget themselves in the game. Knowing this info will help you choose enjoyable tricks and games for your dog in the future.
- Are they a lefty or a righty? Dog’s tend to use one side of their body over the other, just as we do. If they lay down to try and get out the string, which side do they flop on? If they try to scratch it out with their paw, which one do they tend to use more. Knowing this info will help you start new tricks on your dog’s dominant side, to better set them up for success.
All that knowledge from just playing a simple game… amazing!
Touch Game #1: Hit It!
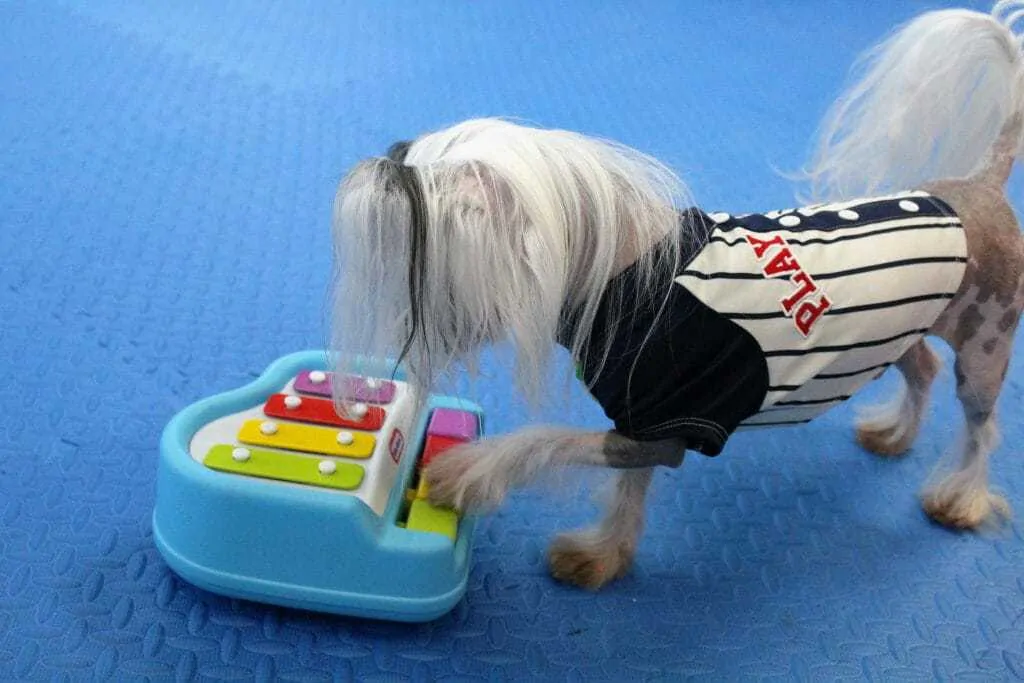
Loki learned how to play piano by learning the “Hit It” cue.
As your dog gets braver with investigating new items, you can advance to teaching your dog to touch a variety of things with his paws. The “Hit It” cue can be translated to a wide variety of fun tricks once learned.
- First, you will need to find an easy thing for your dog to practice with. This could be a Post-It Note, tap light, drink coaster, pot holder… pretty much anything you can hold easily in your hand.
- Place the item on the ground and play with it, kind of like a kitten playing with a ball of yarn, enticing your dog to mimic you and bat it with his paw.
If this activity seems stressful for your dog, you may also try luring your dog with a treat to walk across the item.
- Even the slightest paw touch, even if it is a fluke, gets an immediate Mark and Reward. We want to make sure we reward ANY paw contact with the item when starting this game.
- As your dog gets more comfortable making physical contact, begin to just lay the item down (no longer playing the batting game) and just visually signal towards the item and give the cue “Hit It”.
- Once your dog is reliably doing a paw touch to the item on cue, it is important to get creative and experiment using different types of objects your dog might be a little wary of.
Some examples could be:
Nervous of movements- Paw Touch a cabinet or door
Nervous of noises- Paw Touch a Bell or piano keys
This tutorial video shows you how to teach a “Hit It” cue. As you can see, it is also a very good skill to teach young puppies when they are learning how to investigate new objects too.
Touch Game #2: High 5 or Paw Bump
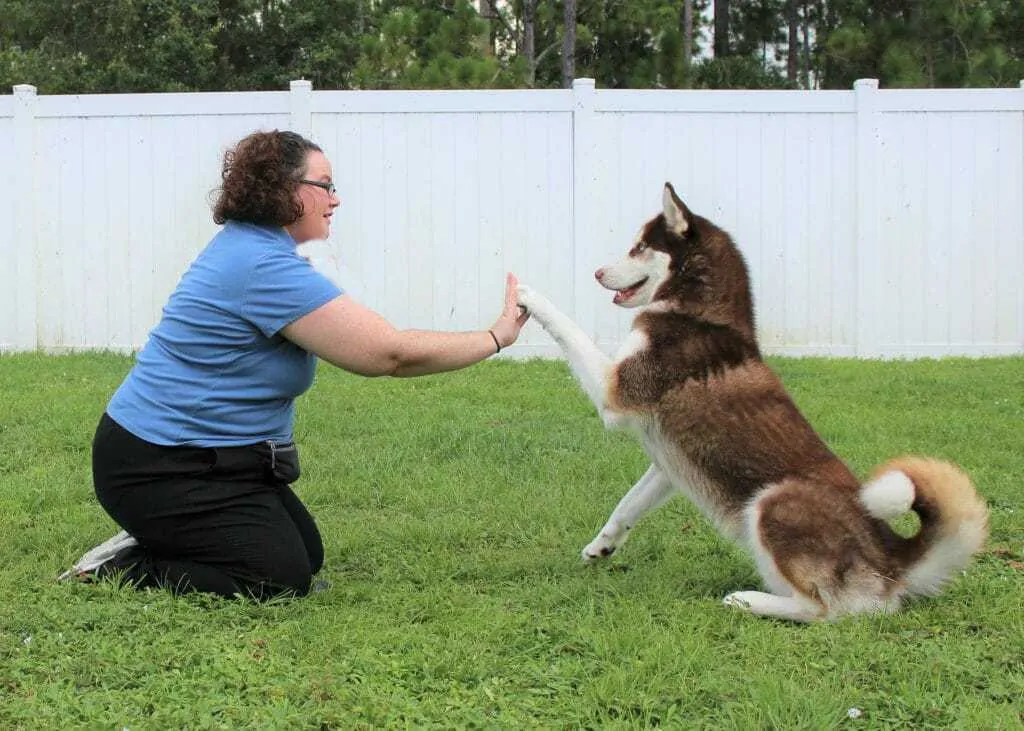
Rocket has learned how to do a High Five with his mom.
A Paw Shake can seem a bit too intrusive to a shy dog in the beginning because of the holding of the paw, but a High 5 or Paw Bump (think fist bump) can be just enough of a momentary connection to help your dog get more comfortable interacting with people. Some of the most lovely moments I have witnessed are the times that a dog that is very shy of people takes the first step of interacting with a stranger for a High 5 or Paw Bump. This really shows so much trust.
- If you taught your dog to “Hit It” in the previous section, take the item you taught your dog to hit (lid, Post-It, etc) and hold it upright in your hand just above the ground. Since your dog started that cue on the ground, holding it down very low in the beginning, will help your dog connect with the new game. Mark and Reward any contact with the item in your hand.
- Gradually lift the item higher until your dog can lift his paw up and make contact with your hand by holding it near your dog’s shoulder level or higher.
- Once your dog is confidently raising up to hit the target in your hand, start to remove the item so it is just your hand he is making contact with.
- Decide how you might want to cue this trick and start adding this in. If I want to signal this as a High 5, I show a flat hand, fingers pointing upwards, and say “Gimme Five”. If I want more of a bump, I show a closed fist towards the dog and say “Bump it”. Make it your own. The fun is in the creativity.
You will really be amazed at how these simple tricks and games can help your shy dog overcome a variety of fears. Practice a little everyday and your dog will be well on his way to bravery.
I highly recommend checking out this book if you would like to learn more about working with your fearful dog and growing on the tricks and tips you learned through this article.
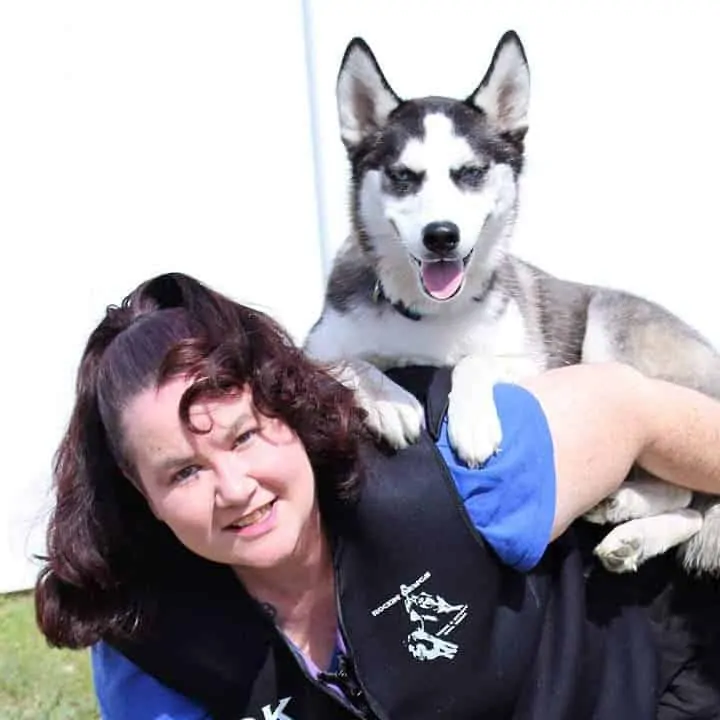
Kim Mayes has been training, performing and competing with her dogs for over 20 years. She is a Certified Professional Dog Trainer (CPDT-KA) a Certified Trick Dog Instructor (CTDI) and Stunt Dog Judge (SDJ) amongst her many certifications. She is a published author in the area of training and behavior, writing books such as “Getting Braver” and “Hyper Dog 101” and owns Rockin’ Dawgs Positive Dog Training LLC in Rockledge, FL. She is also a proud member of the Pet Professional Guild which promotes the importance of using force-free training.
Kim resides in Brevard County, Florida with her 3 Siberian Huskies, Seppala, Rocket and SuperNova, and her Chinese Crested Dog, Loki. Her wonderful rescue pack has gone on to achieve Champion titles and even hold world records in the trick and stunt world.
