It’s natural to want to keep our furry friends with us forever — they make us smile, jump with excitement (even though we just saw them five minutes ago), and comfort us during times of grief — but the unfortunate reality is that we are only given a short time with them. Luckily, there are a number of DIY projects that you can do to memorialize your dog for years to come. For the projects listed in this article, I’ll be using my first-born (and most entitled) child, Gracie, as my special helper.
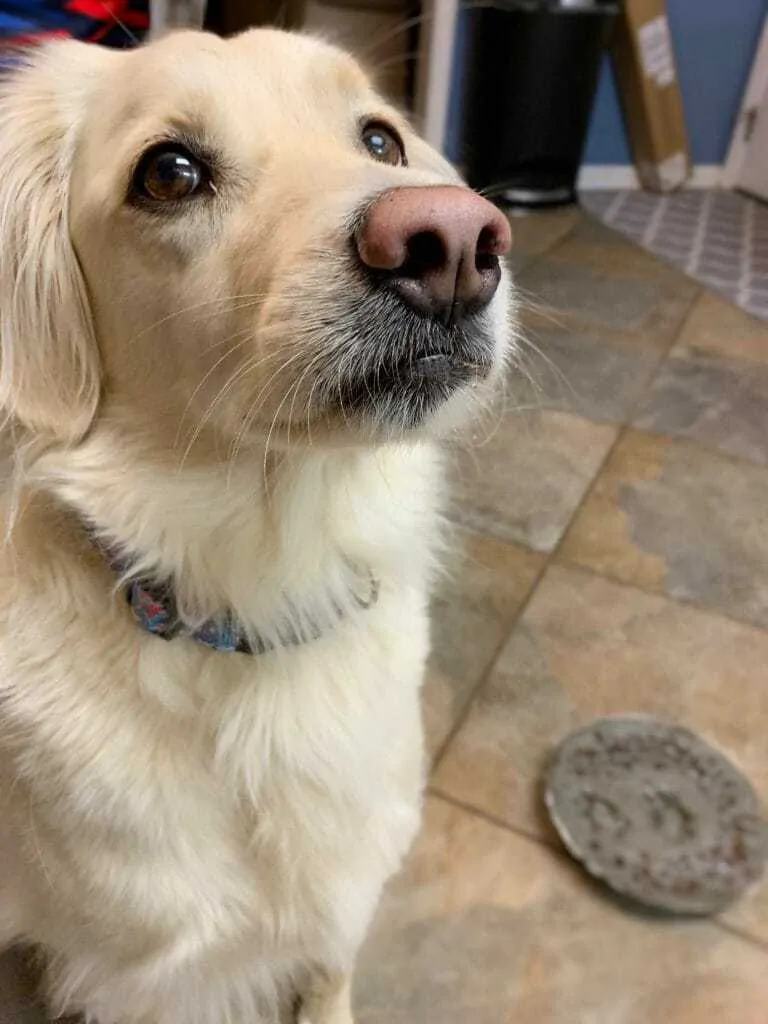
Gracie is a six-year old Labrador Retriever mix, though I’m guessing she’s got a little Border Collie in her. She’s a certified princess, so it only seemed right that she would get to play “Special Helper” today with her Pup Mom.
Contents
DIY Paw Print Ornament
One of the easiest DIY projects to do with your fur babies (and human babies, for that matter) is to make a ornament out of ingredients in your kitchen. For this simple project, you’ll need only three ingredients, aside from your pup child, of course.
Ingredients
Dough
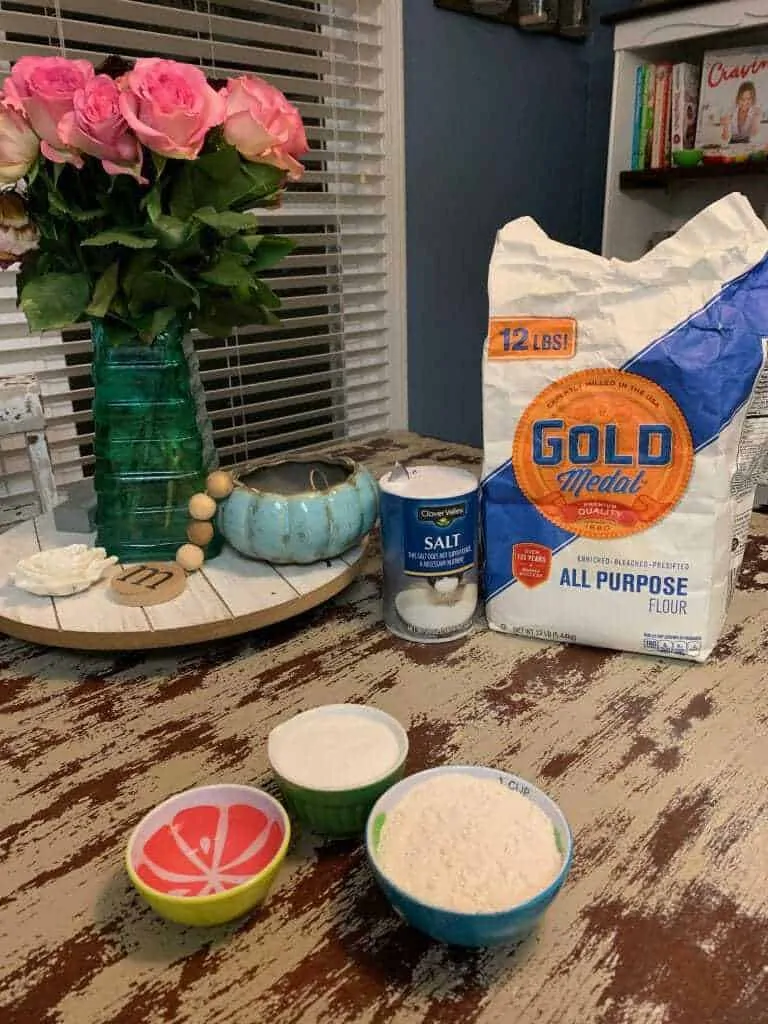
- 1 cup flour
- ½ cup salt
- ½ cup water
Supplies
- Ribbon / twine
- Straw
- Acrylic / watercolor paint (if desired)
So now that you’ve got your simple easy ingredients and supplies, let’s get to the even easier directions!
I was able to find all of the ingredients I needed for this project in my pantry!
Directions
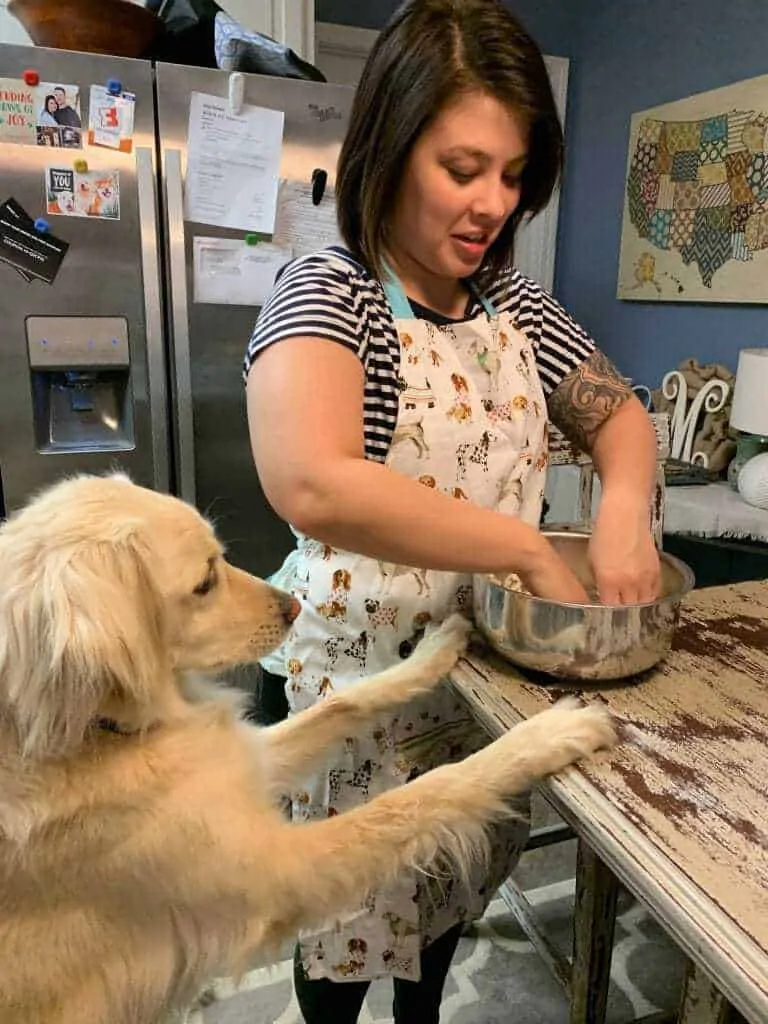
- Mix all your ingredients together! Knead that dough! (I feel like this should be a pun, or at least a good song name, “I knead that dough”)
Gracie is such a great helper! I was just excited that I had an excuse to put on my dog apron.
- Roll out your dough and flatten it. The thickness of your dough is totally up to you, just remember you’ll be pushing your pup’s paw down in it, so measure appropriately!
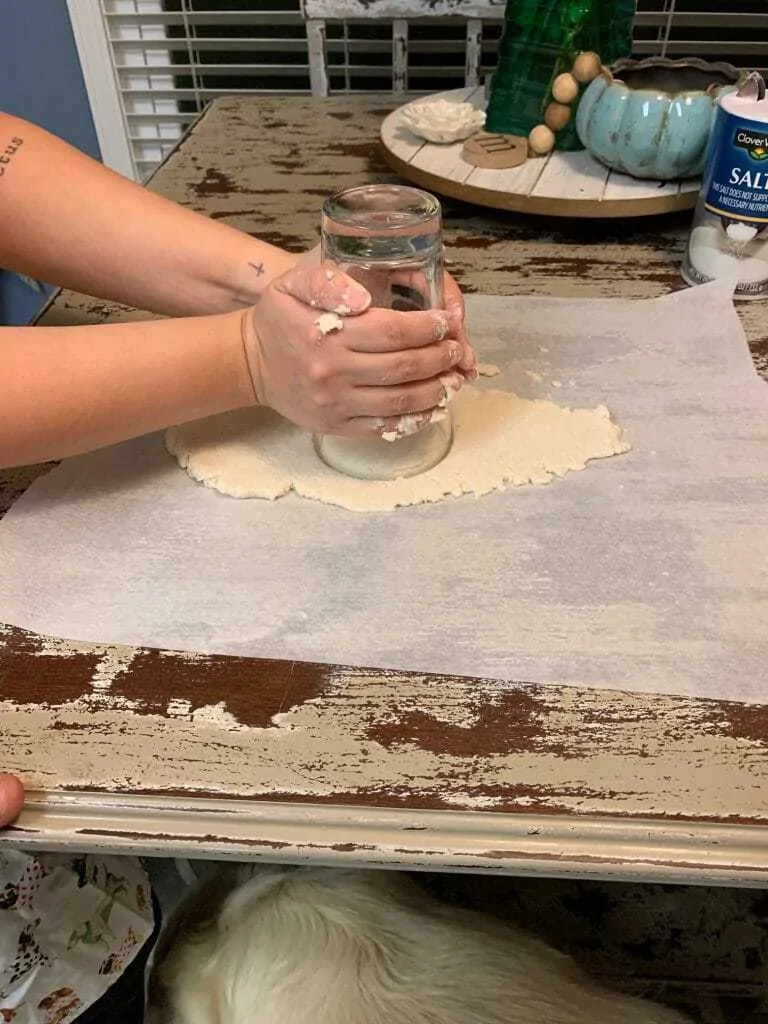
- Use a cookie cutter or a cup to cut out the shape you want e.g. heart, circle, etc.
- Take your dog’s paw and press it firmly into the dough to make an imprint. This could take a few tries, so if your first one comes out sloppy, don’t fret! Be sure to reward your pup for a solid performance afterwards.
It actually took Gracie and I two attempts to get her paw print the way we wanted. Gracie kept trying to eat the dough, though I can’t blame her. It looked like a pretty tasty cookie.
- Use a straw, or something similar, to push a hole through the top of the ornament.
- Put your dough in the oven at 250 degrees for 2 ½ hours or until the dough is dry and no longer spongey.
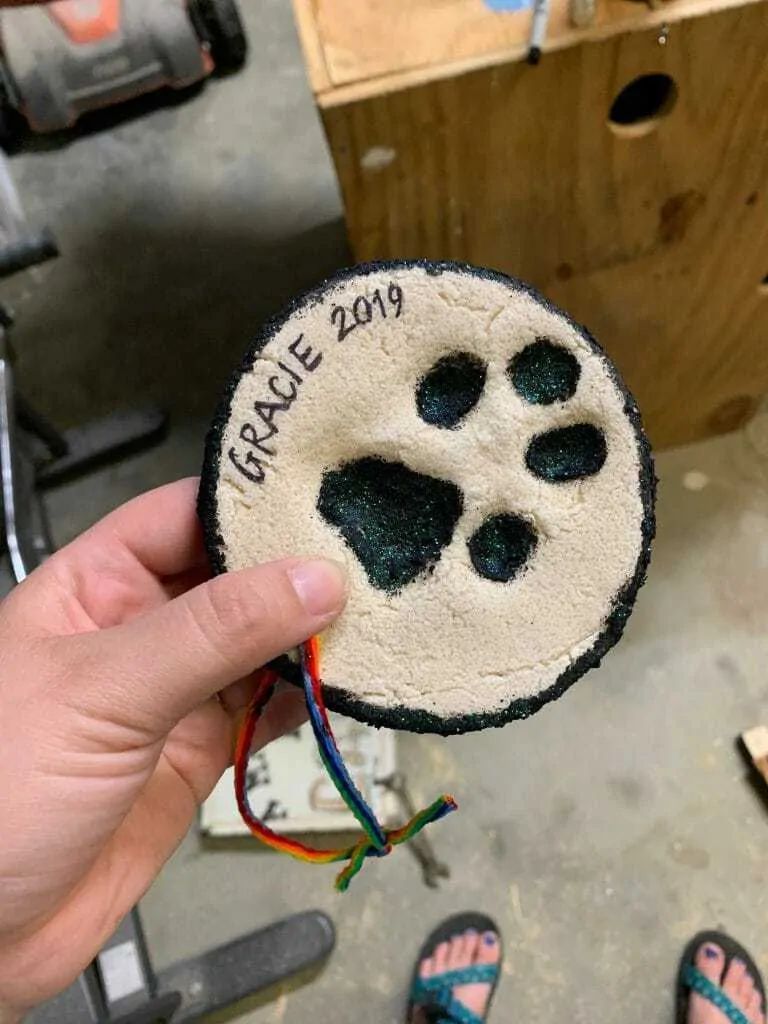
- Allow your dough to cool completely, and then if desired, use acrylic or watercolor paint to fill in the imprint. You can also use glitter paint if you’re really feeling frisky. You may also choose to use a sharpie marker or pen to write the date or name of your pup, especially if you have four dogs, like I do. Most importantly — be creative!
- Take your ribbon or twine and loop it through the hole you created in the dough and then tie a knot.
You’re all done! Wasn’t that incredibly easy? You can use these ornaments on your tree during the holidays or hang them from dog’s toy basket in your house. The possibilities are endless!
Let’s move on to one more DIY project that is both easy and inexpensive!
DIY Pet Garden Stone
I personally love this project, because you can get really creative with it and it will last for years. All of the items you’ll need are inexpensive and this project is easy to put together, though it can be messy. I suggest picking a place to work where you won’t risk messing up any valuables or using a painter’s tarp to cover your floor.
Ingredients
Supplies
- Quick-setting cement
- Plastic disposable mold (in desired shape)
- Bucket for mixing
- Large plastic or wooden spoon
- Desired decor e.g. marbles, rocks, glass, etc.
A few quick notes — I would recommend having a bucket or bowl of water, along with some dish soap, to use between your steps to keep the cement from drying to your tools and your dog’s paw. Again, I’d pick an area to work where you will not have to worry about making a mess and ruining any valuables. You may want to lay out a tarp or do your work in the driveway. Just be warned — things could get a little messy!
Directions
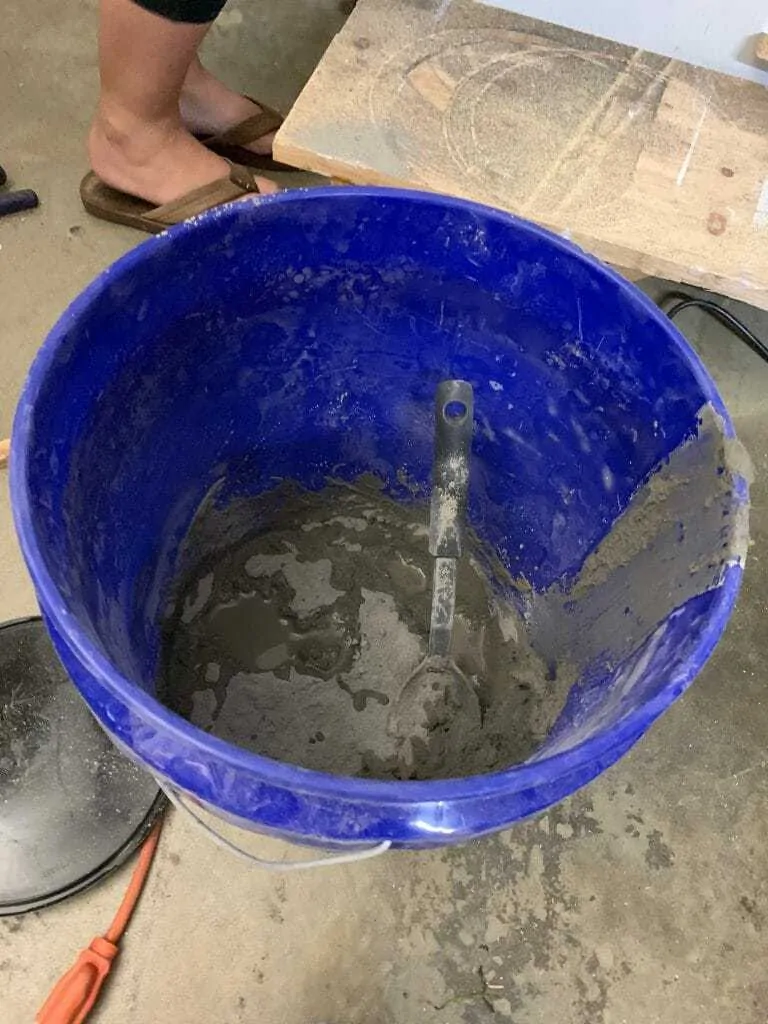
- Mix your quick-setting cement using the guidelines from the manufacturer. The instructions are usually 5:1 ratio cement to water. It may take a little while to get the consistency just right. You don’t want the cement to be runny, but thick enough that you can mold. Use a plastic or wooden spoon to mix the water and cement together. If you need to try and save your spoon, this is where you’ll want to use your bucket or bowl of water to clean off the cement.
The large plastic buckets at Lowes or Home Depot are perfect for mixing the cement.
- Pour the mixture into your plastic disposable mold. I used a plastic plant drip tray from Dollar General. You can also use a cheap cake pan. Use your spoon to flatten and smooth the top of your cement mixture.
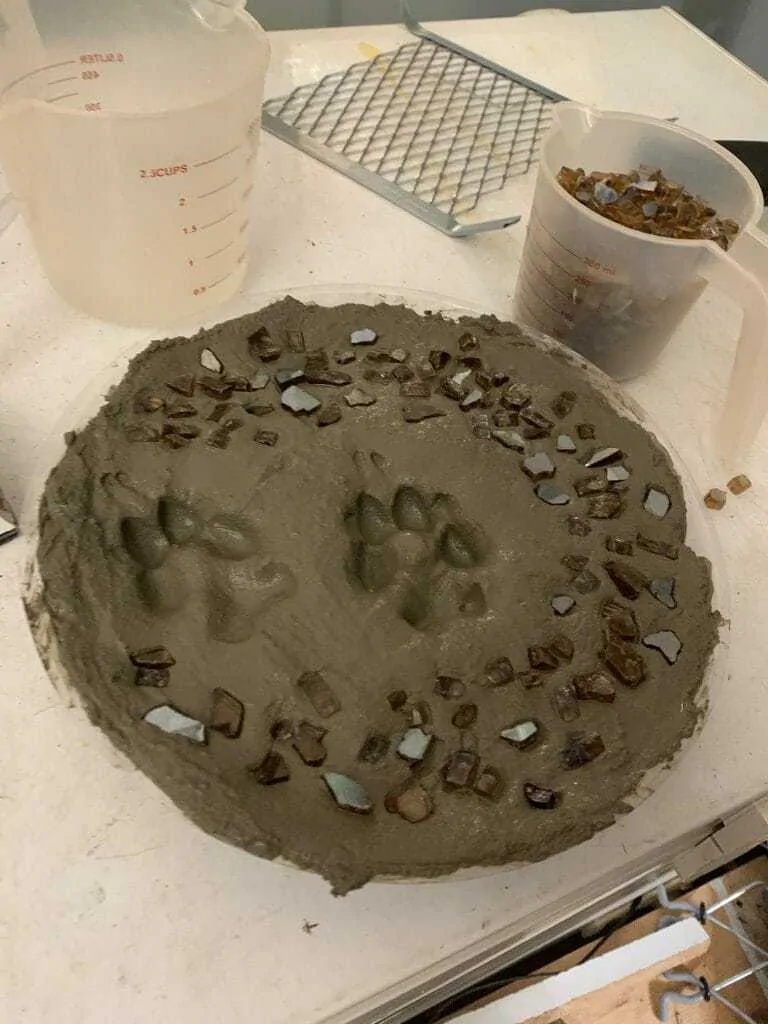
- Take your dog’s paw and firmly press it into the cement to leave their imprint. You may also want to add in your own “paw print”. Make sure to immediately clean your dog’s paw with soap and water, or they may be chewing cement off for eternity! This is also a good time to add any additional notes, such as your dog’s name, dates, or whatever else you may want to write or draw into the cement.
- Get creative and add in your decor! I used some fire glass that I’d purchased last summer. You can use rocks, marbles, whatever your heart so desires!
I was so impressed at how great Gracie’s paws looked in the cement!
- Let your creation sit for 24 hours! Once it is completely dry, you may choose to paint in your designs with acrylic paint or leave them natural.
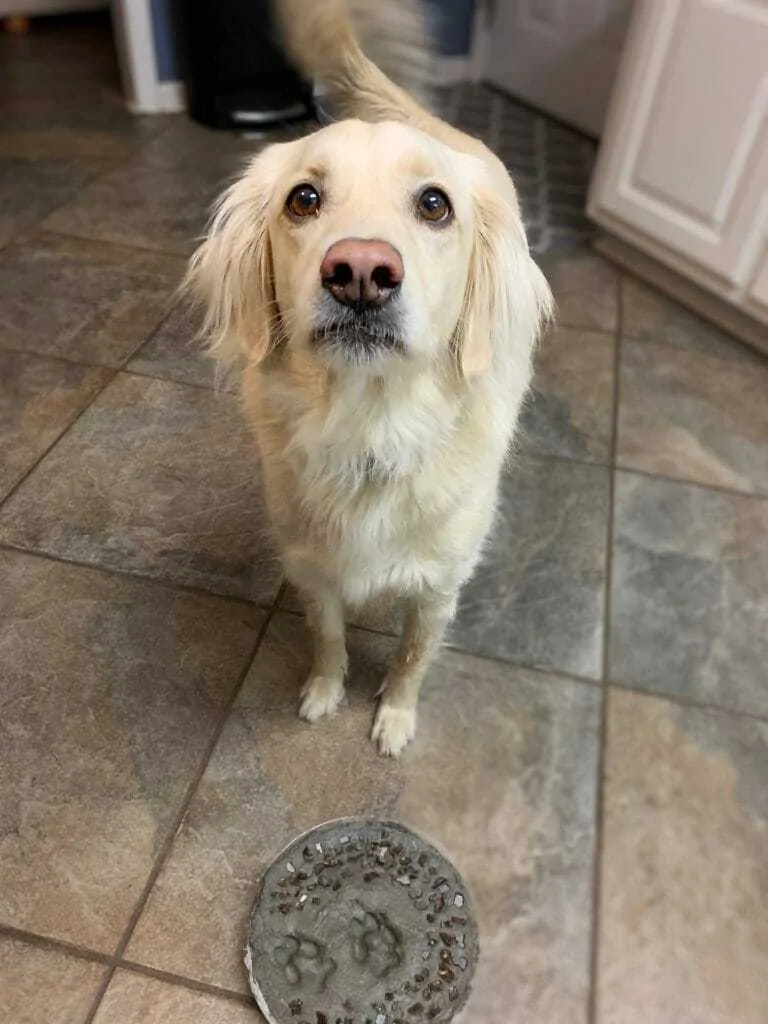
I think Gracie was just as proud of her creation as I was!
Amazing — you’ve just mastered stone masonry! Well, not quite, but now you have a really awesome keepsake that will last a lifetime.
Mission Accomplished!
See? I knew you could do it! I was so excited about putting my new garden stone out in the front yard, along with the garden stone I made for myself (I couldn’t let Gracie have all the fun). There are so many other fun projects to do with your pets, and most require little artistic talent, which I know I certainly lack in. So, amazing pup parents, keep crafting and keep being an amazing pup parent!

Jen Jones is a professional dog trainer and behavior specialist with more than 25 years of experience. As the founder of ‘Your Dog Advisor’ and the ‘Canine Connection’ rehabilitation center, she applies a holistic, empathetic approach, aiming to address root causes rather than merely treating symptoms.
Well known for her intuitive and compassionate approach, Jen adopts scientifically-proven, reward-based methods, encouraging positive reinforcement over punishment. Jen specializes in obedience training, behavior modification, and puppy socialization. Her innovative methods, particularly in addressing anxiety and aggression issues, have been widely recognized. Jen has worked with many of the world’s leading dog behaviorists and in her free time volunteers with local animal shelters and rescue groups.
